Installing a tonneau cover is a pretty straightforward DIY process. When you’re installing a tonneau cover, it’s not uncommon to run into a few hiccups, especially if the manuals aren’t up to date or if there’s a mismatch in the naming of parts.
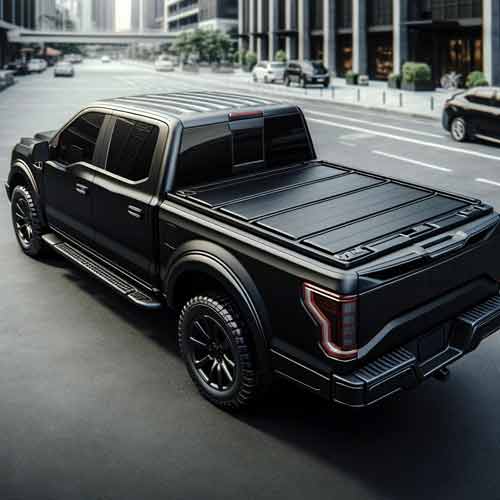
Mostly the manufacturers assign a code to each part, which can be confusing for some people.
Here’s a general step-by-step guide, but remember, the exact steps can vary a bit depending on the brand and type of tonneau cover you’ve got. So let’s get into it.
Table of Contents
Check List
You need to make sure you have all the things you need to save time.
Parts
First things first, make sure you’ve got all the parts. This is a general guide and some parts can vary, that’s why you need to lay out all the parts and cross-check with the images on manual. It should include:
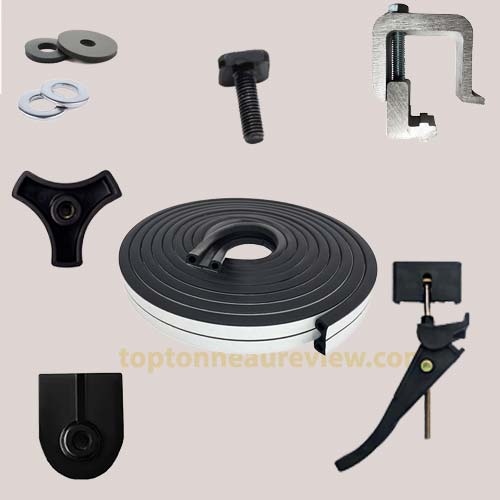
- Side Rails
- C/EZ/Jaw Clamps or Brackets (8 for longer truck bed)
- Cover
- Bulkhead Seals(for painted rails)
- Straps and buckles
- Weather Stripping
- Stop bumps or cushions
- Prop Rods (not included in some covers)
- Drain tubes
- Knobs, Bolts and Washers
Required Tools:
Make sure you have all the necessary tools.
- 9/16 wrench
- Philips screw driver
- Scissors/Utility knife
- Channel Locks (if you’re working alone)
- Drill machine
Step-by-Step Installation
Follow this guide to get your job done.

Prep Your Truck Bed
- Remove any debris or loose material from the bed.
- Wash with a mild detergent and rinse thoroughly.
- Dry completely to ensure a good seal.
If your truck has a bed liner follow these steps:
- Check instructions, manufacturers often provide specific guidelines for trucks with bed liners.
- Evaluate weather stripping need, use it if you see gaps between the bed liner and bulkhead.
- Avoid cutting the liner, only cut it if absolutely necessary or advised by the instructions.
- If in doubt, seek professional installation advice.
Bulkhead Stripping
- Measure and cut the stripping to fit the width of the bulkhead.
- Peel off the adhesive backing.
- Firmly press the stripping into place, ensuring no gaps or bubbles.
Position the Rails
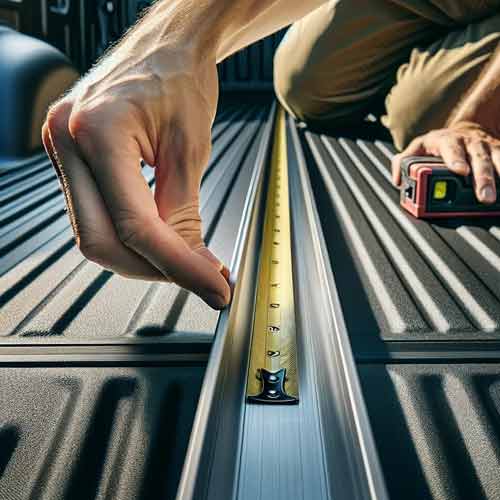
Measure the rails if both are equal and according to your truck bed.
Then, align the rails evenly with the top edge of the truck bed.
Check for equal overhang on both sides.
Also temporarily hold it in place, if necessary, to maintain alignment.
Take someone’s help or use a channel lock to hold the rail.
Clamp them Down
- Start by hand-tightening the clamps to hold the rail in place.
- If you feel there’s a gap use a shim to ensure a snug fit.
- Use a 9/16 wrench to tighten the clamps, and check alignment as you go.
- Avoid over-tightening to prevent rail distortion.
Mount the Cover
Carefully lay the panels on top of the rails.
Then, ensure each panel is flush with the rail.
And lastly, check for even distribution of weight and alignment.
Secure the Front
- Identify the front attachment points.
- Attach buckles to the cover.
- Connect the panels to the rails using the provided hardware (screws, bolts and washers), ensuring a snug fit.
- Avoid forcing any parts to fit; they should align naturally.
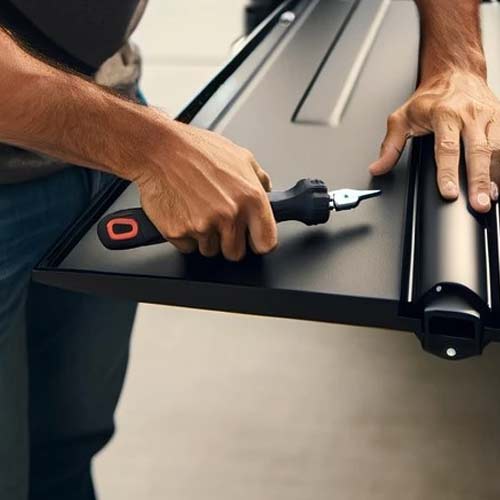
Adjust and Tighten
Inspect for even gaps and alignment along the entire length.
Then, securely fasten all clamps and bolts.
And then, attach and adjust the buckles and prop rods as per the manual.
Unfold the Cover
- Gently unfold each panel towards the tailgate.
- Ensure the seals are making good contact with the rails.
- Check for smooth operation with no binding or resistance.
Check the Tailgate Fit
- Close the tailgate gently to check clearance.
- Look for uniform sealing around the tailgate.
- Adjust if necessary to avoid too tight or loose a fit.

Final Checks
Open and close the cover several times to test the mechanism. And then, look for any areas of concern like misalignment or scraping.
Moreover, make any final adjustments for smooth operation.
And then attach the drain pipes to the cover (if provided).
And yes, you may need to drill holes in the drain caps of the truck bed to fix the drain pipes.
And you’ve got yourself a sleek-looking truck with a brand-new tonneau cover! Remember, this is a general guide – your cover might have some specific quirks or steps. When in doubt, refer to the manual or seek help from YouTube.